


Connecting your Canon printer to a Mac allows for seamless printing and scanning. This comprehensive guide provides detailed steps how to connect canon printer to mac , ensuring hassle-free printing.
Method 1: Connecting via Wi-Fi
Step 1: Prepare the Printer
- Ensure your Canon printer is turned on and within range of your Wi-Fi network.
- Confirm that the printer has a Wi-Fi capability.
Step 2: Access Printer Settings
- On your Mac, click on the Apple menu and go to “System Preferences.”
- Select “Printers & Scanners” or “Print & Fax.”
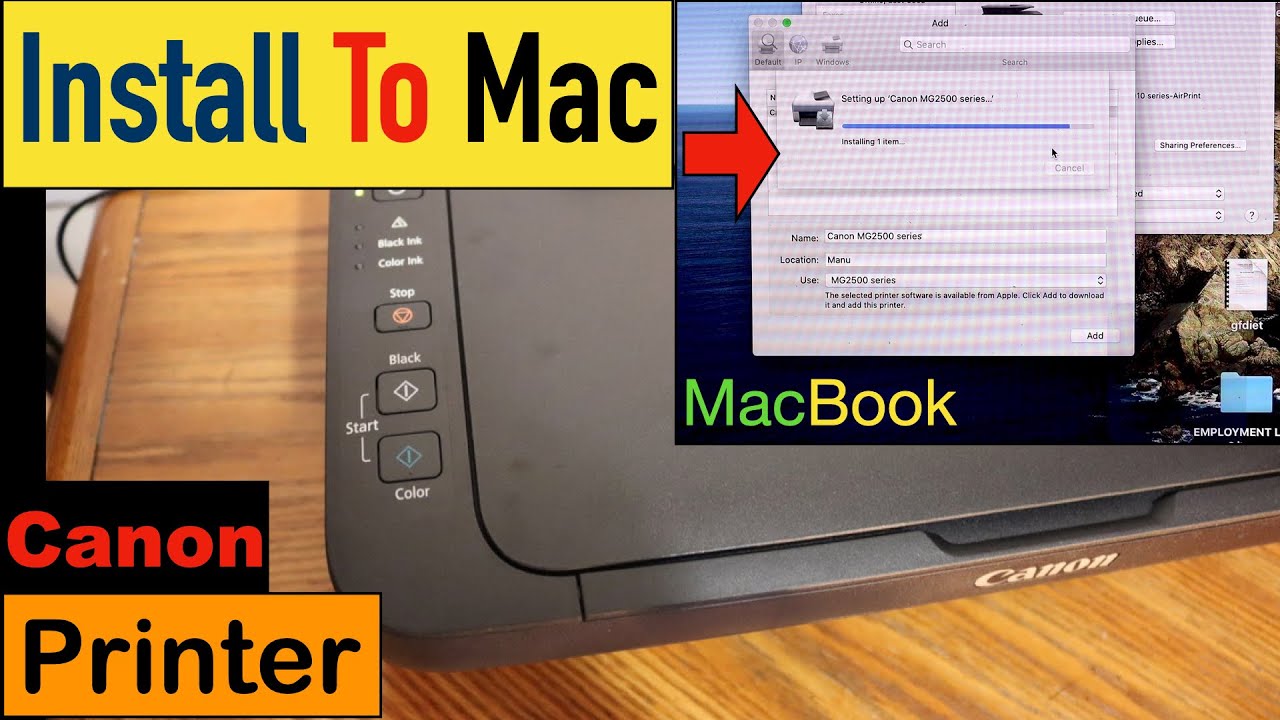
Step 3: Add the Printer
- Click the “+” icon to add a new printer.
- Your Canon printer should appear in the list of available devices. Select it.
Step 4: Install Printer Drivers
- If prompted, download and install the necessary printer drivers for your Canon model.
- Follow the on-screen instructions to complete the installation.
Step 5: Select Connection Method
- Choose the “Add Printer” option.
- Select the “Canon IJ Network” connection type.
- Follow the prompts to connect your printer to the Wi-Fi network.
Step 6: Test the Connection
- Print a test page to verify the successful connection.
- Ensure the printer responds correctly to print commands from your Mac.
Method 2: Connecting via USB
Step 1: Prepare the Printer and Mac
- Turn on your Canon printer and connect it to your Mac using a USB cable.
- Confirm that the printer is detected by your Mac.
Step 2: Install Printer Drivers
- Visit the Canon support website and download the appropriate drivers for your printer model.
- Install the drivers following the provided instructions.
Step 3: Add the Printer
- Open “System Preferences” on your Mac.
- Navigate to “Printers & Scanners” or “Print & Fax.”
- Click the “+” icon and select your Canon printer from the list.
Step 4: Configure Printer Settings
- Set the default settings for your Canon printer, such as paper size and quality.
- Ensure the printer is selected as the default device for printing tasks.
By following these steps, you can easily connect your Canon printer to your Mac. Whether via Wi-Fi or USB, establishing the connection allows for efficient printing and scanning from your Mac to your Canon printer.
Setting Up a Canon Wi-Fi Printer: A Comprehensive Guide
Setting up a Canon Wi-Fi printer allows for convenient printing from multiple devices within the same network. This detailed guide provides step-by-step instructions to help you set up your Canon Wi-Fi printer effortlessly.
Step 1: Unboxing and Preparation
- Unbox your Canon Wi-Fi printer and remove all packaging materials.
- Place the printer within range of your Wi-Fi network and near a power outlet.
Step 2: Power On and Initial Setup
- Plug in the printer and turn it on using the power button.
- Follow the printer’s on-screen prompts to select language, date, and time settings.
Step 3: Access Printer Settings
- Use the printer’s control panel or touchscreen to navigate to settings.
- Look for the “Wireless LAN Setup” or “Network Settings” option.
Step 4: Connect to Wi-Fi Network
- Select “Wireless LAN Setup” and choose “Standard Setup” or “Connect to Wi-Fi.”
- The printer will search for available networks. Select your Wi-Fi network from the list.
Step 5: Enter Wi-Fi Password
- Enter the Wi-Fi network password (WPA key or passphrase) using the printer’s keypad or touchscreen.
- Confirm the password and proceed to connect.
Step 6: Complete Setup
- Once the password is entered, the printer will attempt to connect to the Wi-Fi network.
- Wait for the confirmation message indicating a successful connection.
Step 7: Install Printer Drivers
- On your computer or mobile device, visit the Canon website.
- Download and install the appropriate printer drivers for your specific printer model and operating system.
Step 8: Add Printer to Devices
- Open the settings on your computer or mobile device.
- Go to “Printers & Scanners” or “Print & Fax” and select “Add Printer.”
- Choose your Canon printer from the list of available devices.
Step 9: Test Printing
- Print a test page or document from your device to ensure the printer is connected and functioning correctly.
- Verify that the printer responds to print commands wirelessly.
By following these step-by-step instructions, you can successfully set up Canon wifi printer, enabling seamless wireless printing from various devices within your network.


